textual
Textual is a modern Terminal UI (TUI) framework written in Python that allows you to build beautiful, interactive, and animated terminal applications just like you would a front-end web application.
Because the Raspberry Pi CM0 has relatively limited memory, I need an application with less than 30MB of RAM that can display text and charts, such as a temperature and humidity dashboard.
In this case, I cannot run browsers like Chrome, nor can I add a separate desktop environment to display a GUI. Therefore, I chose to display the dashboard on the Raspberry Pi Lite OS server terminal, which needs to support touch and be displayed on a physical screen, serving as an information display or central control screen, etc.
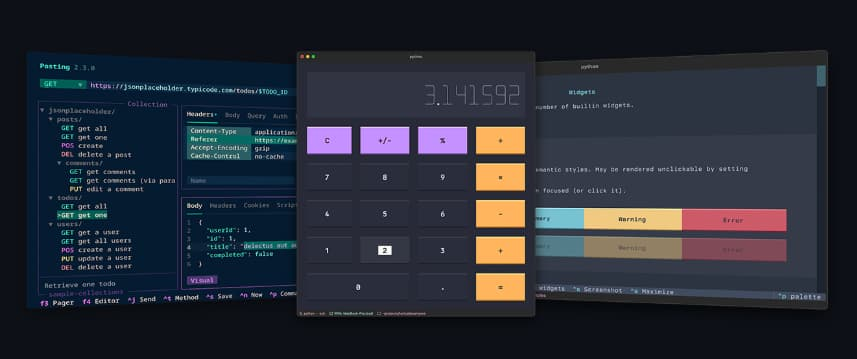
Write terminal UI like you would write front-end development
Textual’s layout method borrows from Web technologies :
- A CSS -like style system (changed
.tcss) - Component structure similar to a DOM tree
- Supports Flexbox layout
2. Rich rendering support
Built-in Rich, supports:
- Colored text, gradients, emojis
- Tables, Markdown, syntax highlighting
- Animations, progress bars, and log panels
3. Supports mouse and keyboard events
Not only can you press the keyboard, but you can also use the mouse to click buttons and drag areas.
4. Supports both mobile terminal and Web (Textual Web) platforms.
An application can simultaneously:
- Run in the terminal
- Running in a browser (WebAssembly rendering)
5. Supports “Hot Reload Development”
It provides an experience similar to the front-end Vite, with the interface updating automatically.
Install textual
The Raspberry Pi CM0 Raspberry Pi Lite Server comes with Python 3.13.5 pre-installed;
you’ll need to install two more dependencies.
One is python3-venv, used to create Python virtual environments and isolate the system.
One is python3-pip, used to download dependency packages for Python projects.
Install python3-venv
sudo apt install -y python3-pipInstall python3-pip
sudo apt install -y python3-pipCreating a virtual environment
python -m venv ~/textual-envActivate virtual environment
source ~/textual-env/bin/activateInstall textual
pip install textualWrite tui code, such as hello_textual.py
from textual.app import App
from textual.widgets import Static

class HelloApp(App):
    CSS = """
    Screen {
        align: center middle;
        background: black;
    }
    Static {
        color: yellow;
        text-style: bold;

        content-align: center middle;
    }
    """

    def compose(self):
        yield Static("Hello World")

if __name__ == "__main__":
    HelloApp().run()
Execute in a virtual environment
python hello_textual.py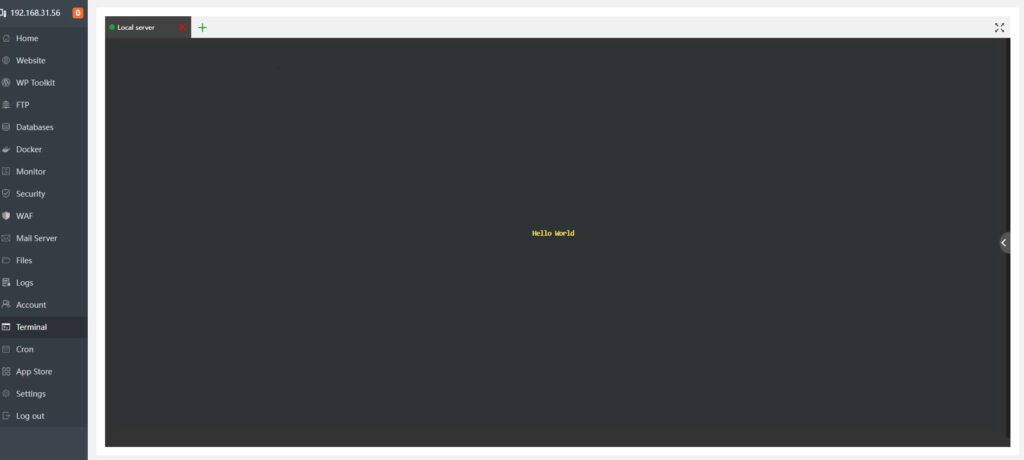
so far
We installed a Python virtual environment for textual
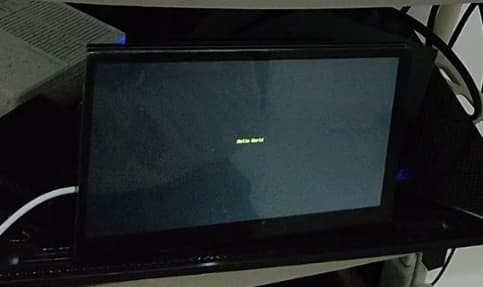
I’ve installed and started Textual, and it displays “hello world” in yellow text on the remote SSH terminal.
But there are still two problems.
One issue is that the HDMI connection screen remains on the login page, and after we execute the command, the screen content doesn’t change; only the SSH remote terminal is active.
One requirement is that the page written in text should be displayed automatically upon startup, rather than being started remotely or manually through other means.
Configure to start automatically
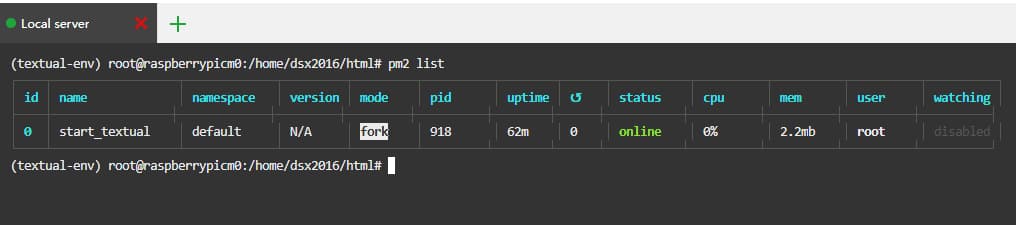
Linux has built-in systemd service auto-start, but this article uses the pm2 daemon and its auto-start mechanism.
pm2 can be set to start automatically and can also run shell scripts, but a Node.js environment needs to be installed first.
Install Node.js
cd /opt
sudo curl -fsSL https://nodejs.org/dist/v20.18.0/node-v20.18.0-linux-arm64.tar.xz | sudo tar -xJ
sudo ln -sf /opt/node-v20.18.0-linux-arm64/bin/node /usr/local/bin/node
sudo ln -sf /opt/node-v20.18.0-linux-arm64/bin/npm /usr/local/bin/npm
Verify installation
node -v
npm -v
Install PM2
npm install pm2 -gView version
pm2 –version
Write a shell script, start_textual.sh, to display the textual content on the physical screen.
The actual virtual environment, etc., can be modified according to your own content. The core is that /dev/tty1 represents the physical screen of this article, which is generally the default. If there are any changes, remember to modify it.
#!/bin/bash
exec >/dev/tty1 2>&1
clear
source /home/dsx2016/textual-env/bin/activate
cd /home/dsx2016/html
python3 hello_textual.py
PM2 Starter
pm2 start start_textual.sh —name start_textual.shpm2 save program and set auto-start
pm2 save
pm2 startup
Restart to view screen
sudo reboot
Tips
You can create a simple local dashboard with charts and dashboards for temperature and humidity, and set up touch controls for things like turning lights on and off.
This way, key data doesn’t need to be viewed in a separate software panel; instead, it’s displayed in real-time via text and charts.
For example, a secondary screen for computer configuration can display CPU and GPU usage and temperature, fan speed, network signal strength and speed, etc.
