sgp30
Air quality sensor
Detects air quality indicators such as carbon dioxide and formaldehyde
Can be placed in the bedroom
Also can be placed near potted plants.
esphome settings
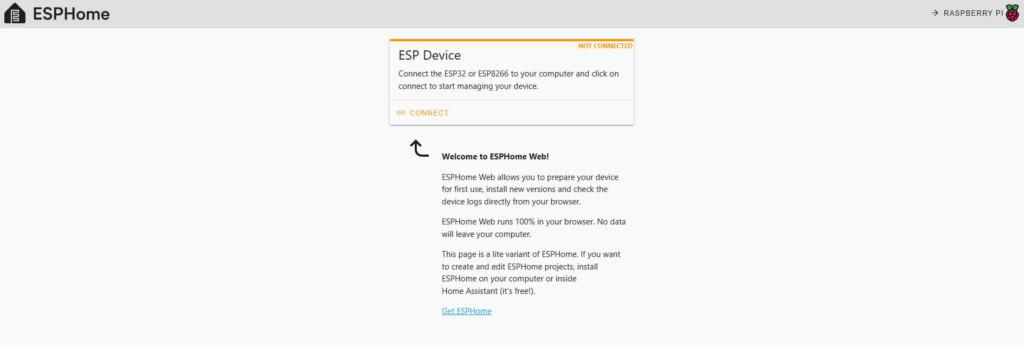
Connect the ESP32 to your computer’s USB port.
Open the official ESPHome firmware website:
Click Connect, flash the pre-configured firmware, and connect to Wi-Fi.
Add the newly scanned device in Home Assistant by clicking “Add to ESPHome”.
View the ESPHome official documentation:
https://www.esphome.io/components/sensor/sgp30
Enter the corresponding configuration (don’t forget to configure I2C).
i2c:
  sda: GPIO21
  scl: GPIO22
  scan: true
  id: bus_a

# Example configuration entry
sensor:
  - platform: sgp30
    eco2:
      name: "eCO2"
    tvoc:
      name: "TVOC"

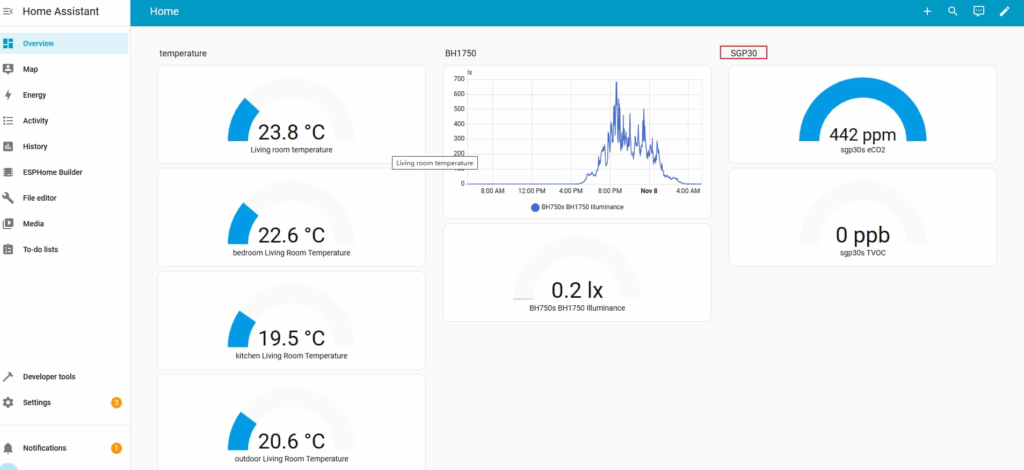
After confirming that the sensor is working properly, add the data to the home dashboard.
Tips
To briefly recap:
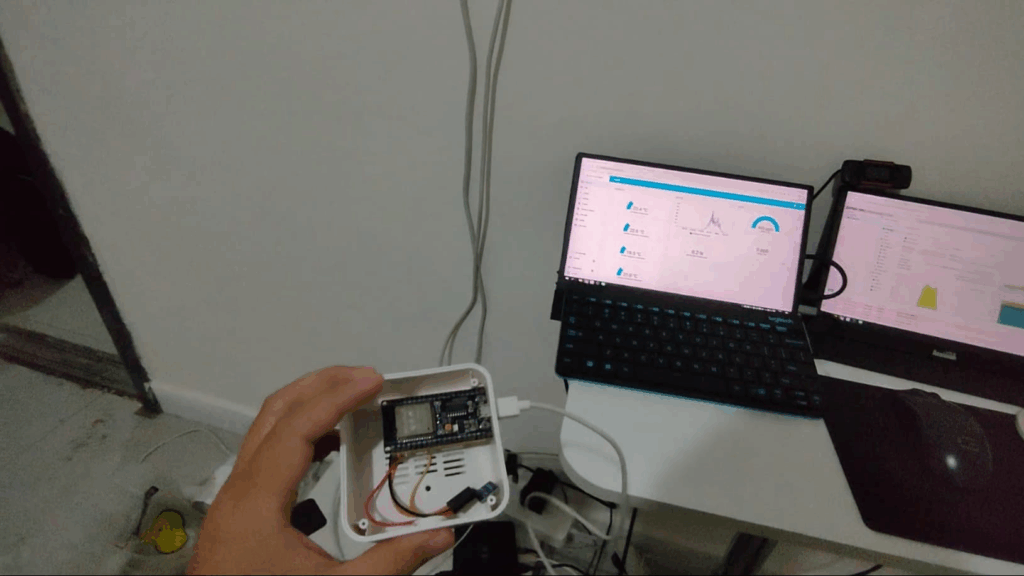
First, plug the ESP32 into your computer (it’s best to connect the sensor to 3.3V, GND, GPIO21 sda, and GPIO22 scl beforehand).
Then, open the ESPHome website to flash pre-installed firmware, flash the firmware, and configure the Wi-Fi. The Wi-Fi network should be the same as Home Assistant.
Next, add the newly detected device to Home Assistant.
Then, edit the device’s configuration file in ESPHome (refer to the ESPHome SGP30 documentation, copy the code, and don’t forget the I2C code).
Important Note:
The SGP30 baseline code is optional.
The SGP30 will automatically calibrate itself, which takes approximately 12 hours.
If you include the calibration code, the data might be inaccurate, unless you are very familiar with its operation.